I. Lighting Installation Process
Step 1 : Lamp Inspection
The first step to be carried out is to inspect the lamps. Carefully check the installed accessories to see if there are any missing lamps and accessories. It is also necessary to check whether the relevant documents of the manufacturer are worth the money, and whether the appearance, structure, wiring, etc. of the lamps are not. In good condition, with or without damage, deformation, corrosion and other phenomena.
Step 2 : Lamp Assembly
The second step is to assemble the lamp, assemble the theme and spare parts of the lamp, and the length of the lamp thread should be appropriate.
Step3 : Lamp Installation
The third step is the installation of lamps. It is very important to cut off the power before installation, and safety is the first. The power cord of the lamp should be left enough, then cut off the remaining wire and strip off the end of the wire, and finally connect the screw to install the lamp socket on the junction box.
Step 4 : Power-on test run
After the lamp is installed, you can turn on the power supply and see if the power-on test run is correct.
Lighting Installation Precautions
1. The most basic thing when installing lamps is to be safe and firm, otherwise there will be potential safety hazards.
2. During the installation of lamps, a separate control switch is required. If it is a combination type of lamps, it can be controlled in groups, and double-control switches can be installed according to requirements.
3. It is best to set the light to be adjustable during installation. If the light is too dark or excessive, it can be adjusted to a suitable brightness at any time.
4. If the weight of the lamp exceeds 1 kg, then a hanging chain should be installed; if it exceeds 3 kg, the lamp can be fixed by pre-embedding hooks or bolts.
5. If the lamp is installed in a humid environment, such as the kitchen and bathroom, it is necessary to do insulation treatment to avoid short circuit of the lamp.
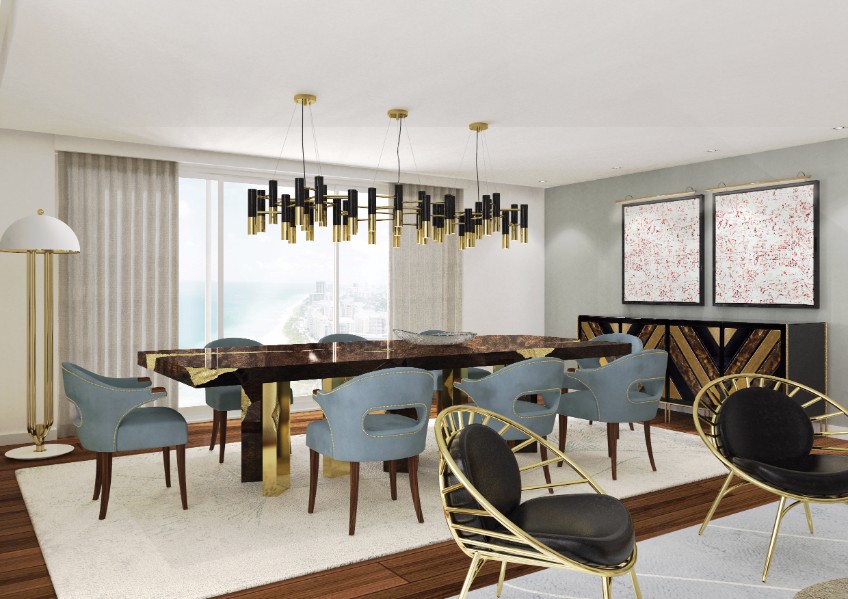
6. When installing the lamps, the distance from the ground should be controlled, not less than 2m. If the lamps are installed above the table, the diameter of the lamps should be controlled to be 30cm less than the width of the table, so as to avoid the phenomenon of bumping into each other. The distance between the lamps and the dining table is normal. At 70-80cm.
7. After the lamp is installed, you can pull it by hand to check whether the lamp is firm, the bottom cover of the lamp is close to the ceiling, and there should be no shaking.
II. Do you know the easiest way to install interior wall lights?
When you renovate your interior, have you ever thought about the layout of your home? If so, there should be curtains, pillows, rocking chairs, sconces, etc. How to install indoor wall lamps?
How to install a interior wall lantern is a technical activity, you need to find a professional master to deal with it, if you know the knowledge of electricians, you can install it yourself, but pay attention to safety and be familiar with the relevant regulations, the installation process of the indoor wall lamp is as follows.
III. How to install the LED wall light indoor?
1. Dimensional Analysis
1. The installation height of the living room indoor wall light should be slightly higher than 1.8 meters, the illumination of the wall lamp should not be too large, it mainly focuses on auxiliary lighting and decoration.
2. First determine the height of the room, the installation height of the wall lamp indoor is higher than the line of sight, about 1.8 meters; the height of the wall lamp and the working surface is 1440-1850mm, and the height from the ground is 2240-2650mm.
3. The distance between the bedroom wall lamp and the ground can be closer, about 1400-1700 mm; and the distance between the wall lamp and the wall is also very close, between 95-400 mm, the specific size is compared with the actual situation.
2. Wall Lamp Installation Details
1. According to the hole on the inside wall light hanging board, mark the position where the expansion screw needs to be made on the wall. Combined with the installation drawing, the measurement data should be accurate and must not be wrong.

2. Drill holes at the position marked on the wall with an electric drill, understand the layout of the lines in advance, do not drill the lines, and master the depth of the holes.
3. After drilling, start the expansion screw. First, insert the expansion screw into the drilled hole, and then push the expansion screw into the wall with a hammer or other things until it completely enters the wall.
4. Pass the wood screw through the wall lamp hole, and then fix it on the expansion screw. The fixing on both sides should be alternately performed to play a stable role and avoid the deviation of the wood screw.
5. Connect the hanging plate to the ceiling with screws, then screw the bald head screws to fix the ceiling, finally, disconnect the power supply from the room, connect the wires and power cords of the wall lights, and finally install the wall lights.
6. The installation method of the wall lamp is relatively simple. After determining the waiting position, first prepare the fixing of the wall lamp socket. Usually, the wall lamp is fixed on the wall by using the embedded part or the punching method.
7. When connecting the wire of the wall lamp, use a light color to make it consistent with the color of the wall, keep the wall clean; dig a small groove on the wall, just embed the wire, embed the wire, and then fill it with lime , pay attention to the planning lines, mainly straight lines, do not bend, and then paint the same color as the wall.
IV. Where is wall lamp installed?
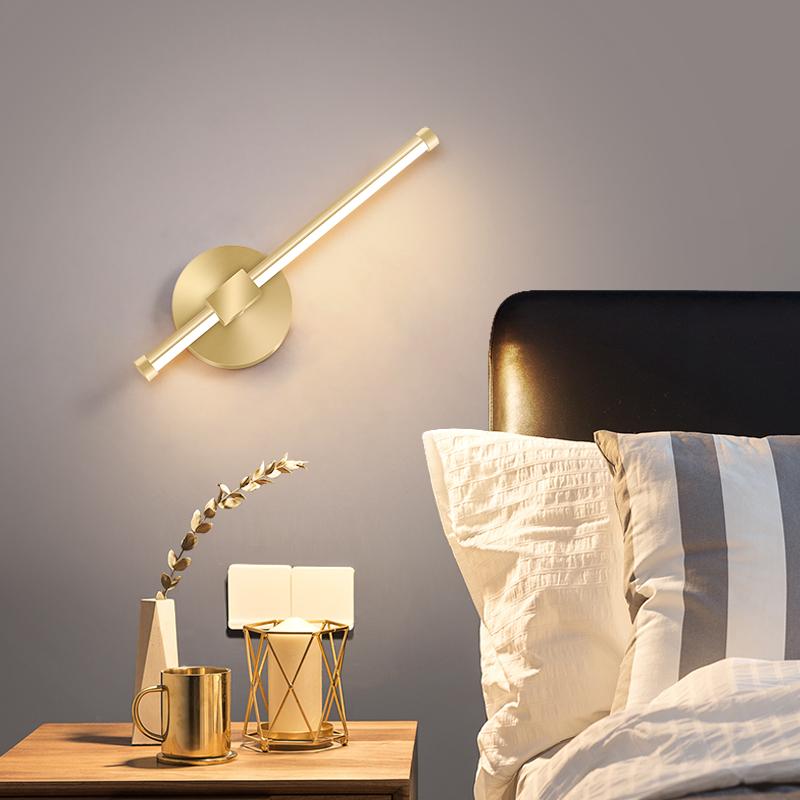
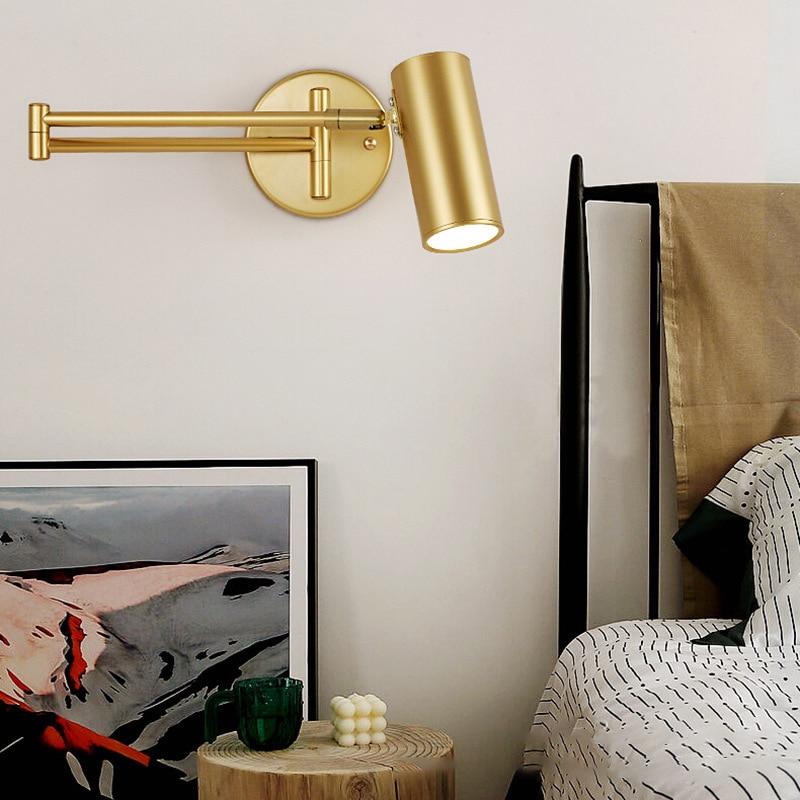
1. Bedside
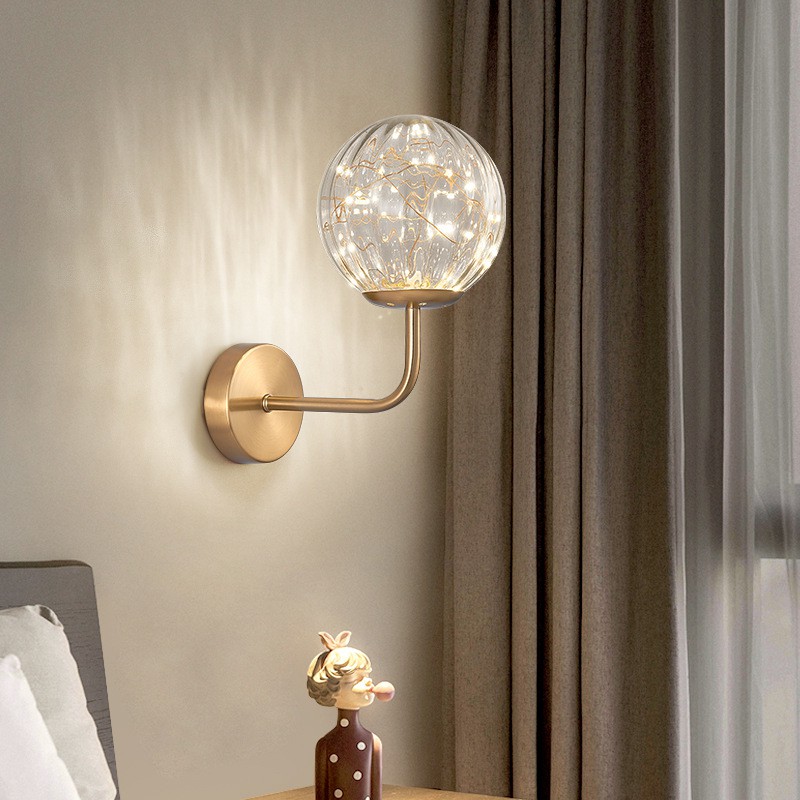
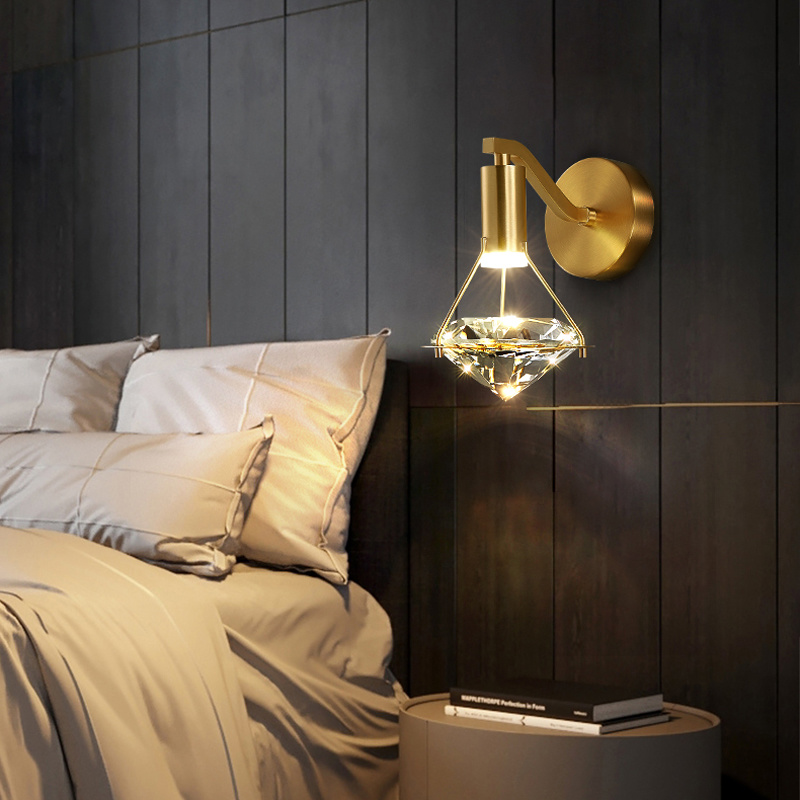
Modern Wall lamp For Bedroom
Because it is auxiliary lighting, the bedside of the bedroom needs the help of the wall lamp, just to meet the auxiliary lighting decoration of the bed, the lamp head should be able to adjust the direction, the brightness of the lamp should also meet the reading requirements, the style of the LED interior wall light and the echo of the bedding or curtains, So the decorative effect is better.
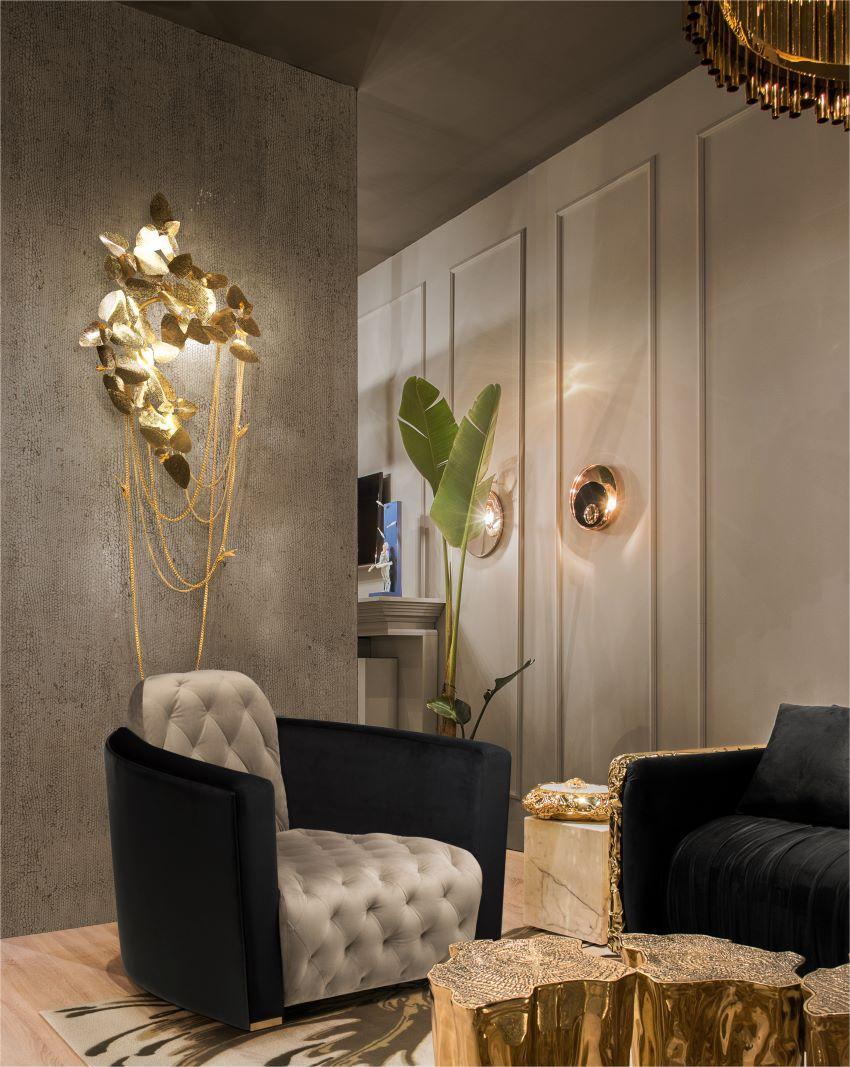
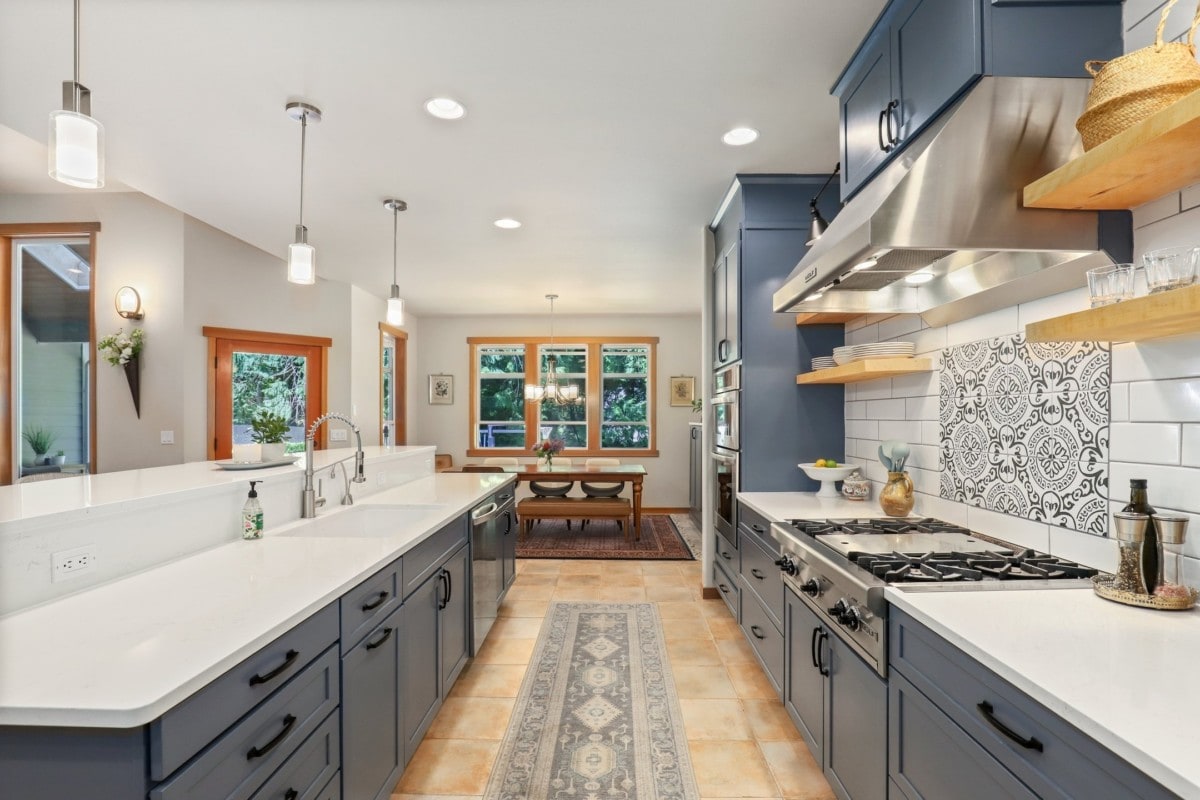
2. Corridor or Living Room
1. In addition to the auxiliary lighting required for the bedroom, the living room hallway or aisle also needs wall lamp lighting, the lighting of the wall lamp should be soft, and the installation height should be slightly higher than the eye height.
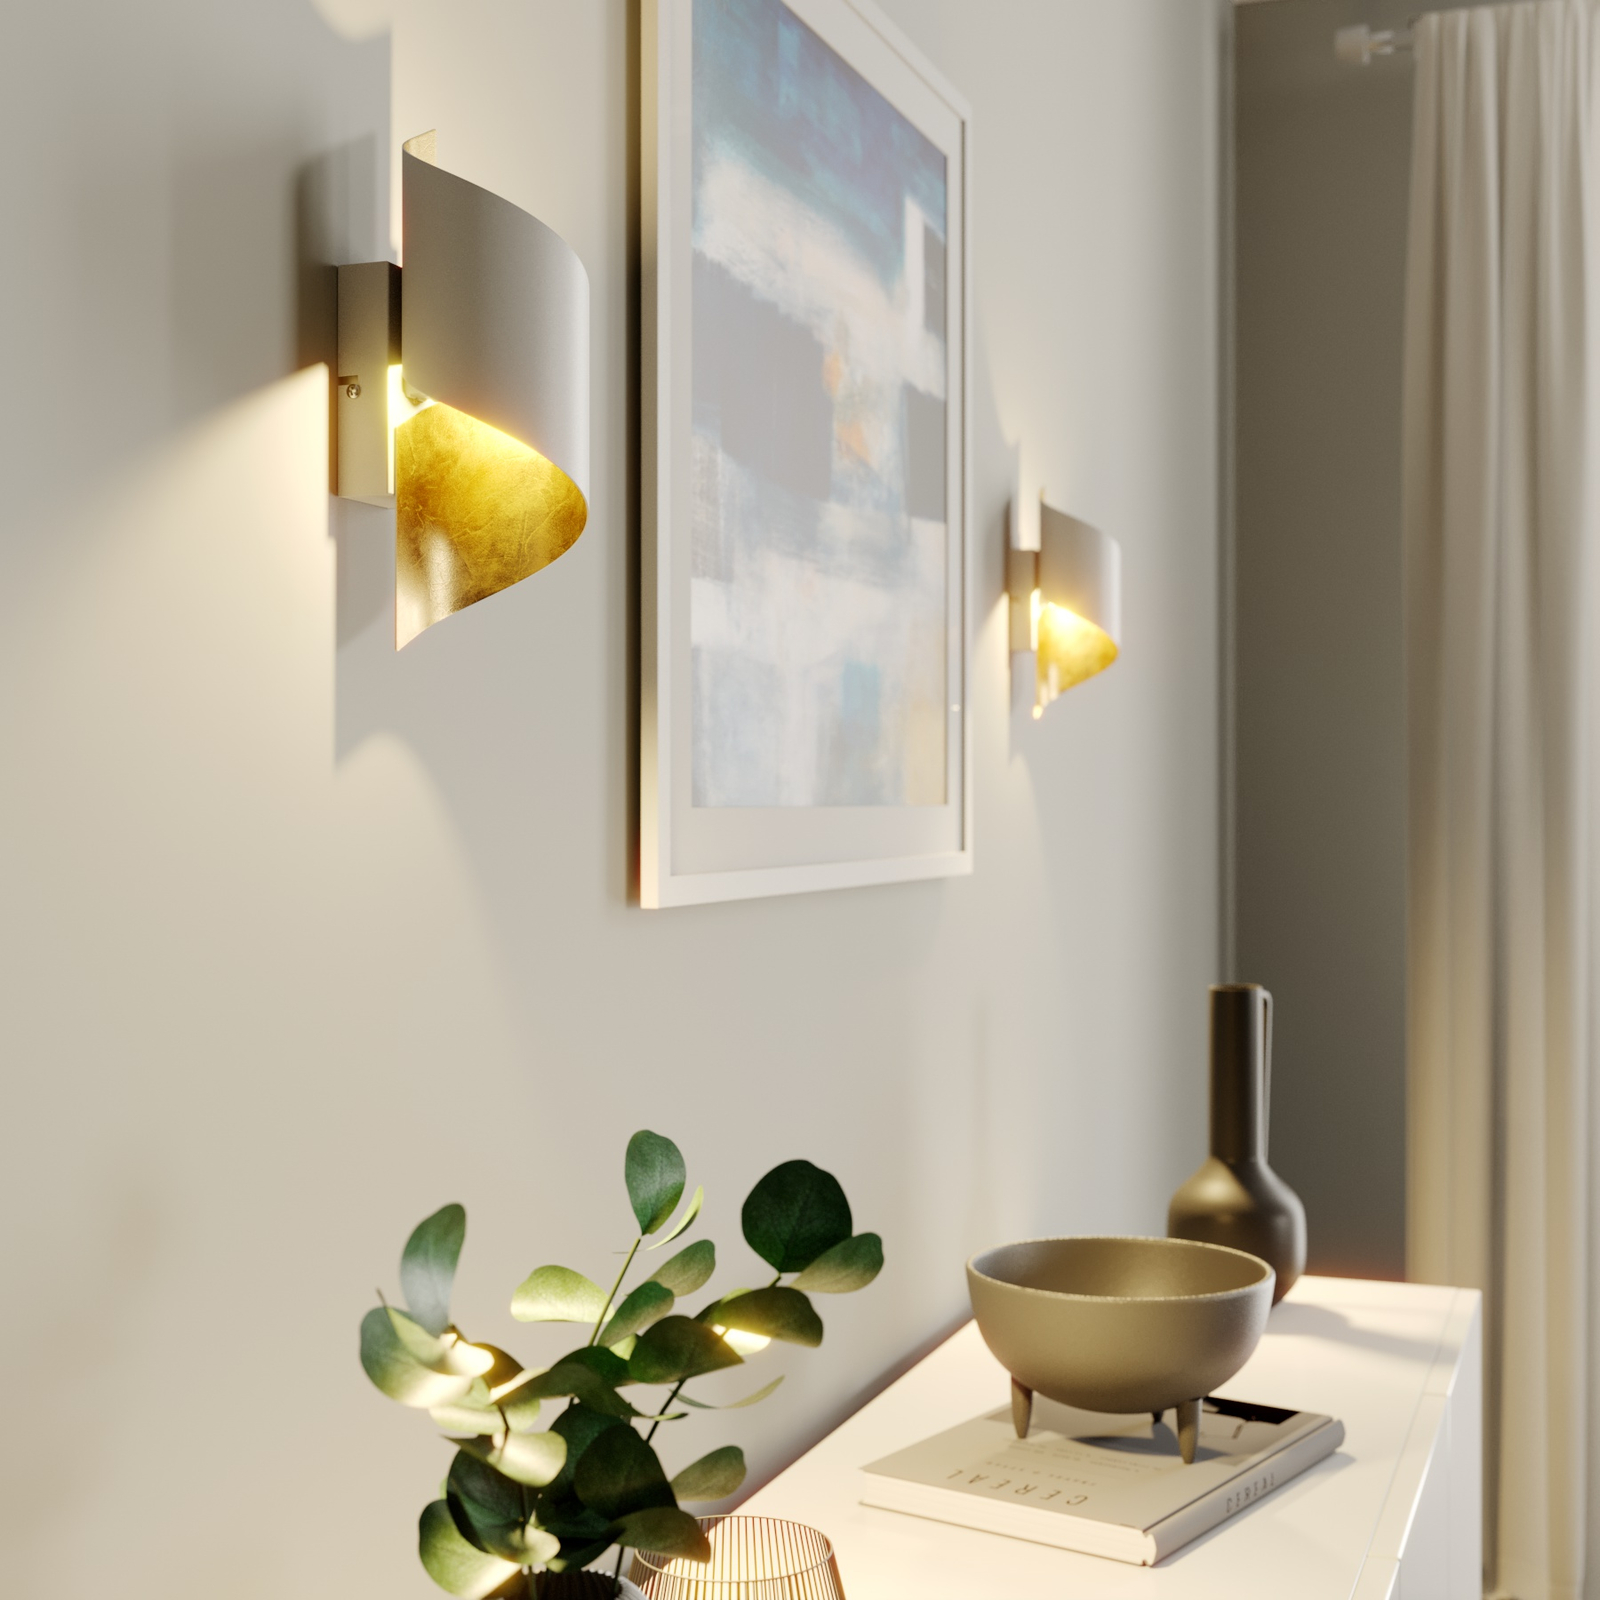
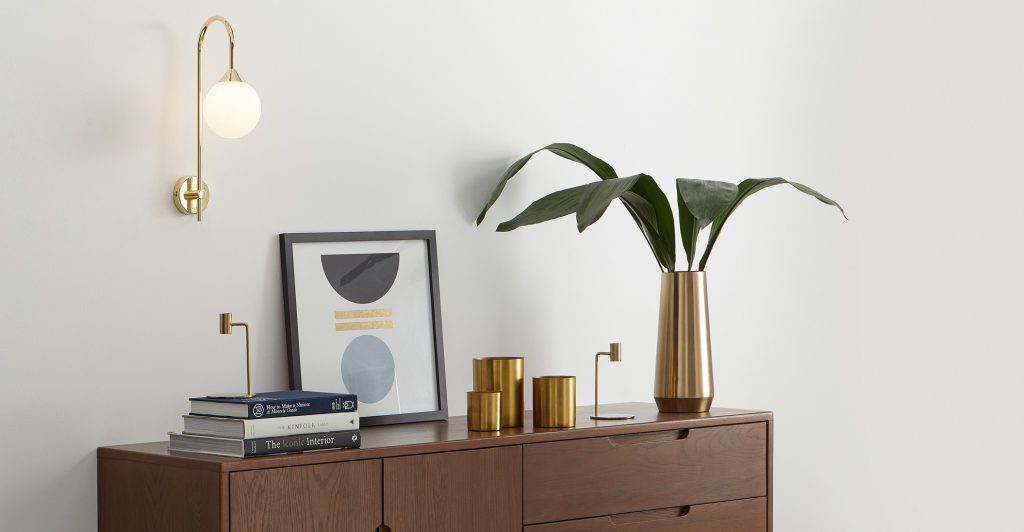
Interior Design Wall Lights and Other Decorations
You can also use some other decorations, such as paintings, vases decorated with flowers, artworks, etc., to set off the indoor atmosphere.
3. In Front of the Mirror
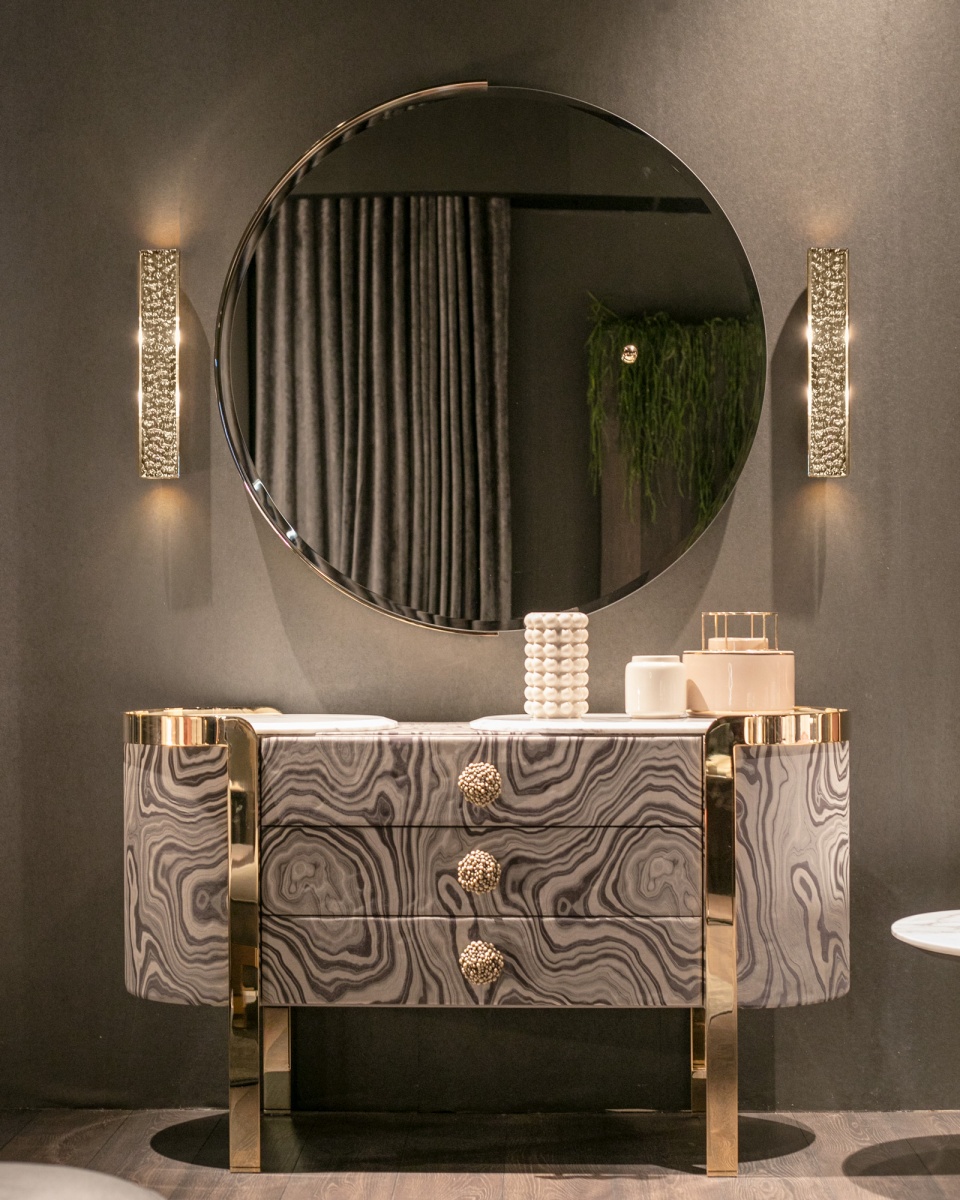
Indoor Wall Mount Light Fixture in Front of the Mirror
The mirror headlight in the bathroom space can also be installed in the wall lamp, it is usually installed above the bathroom mirror, it is better to choose the lamp head facing down, the style of the lamp is similar to that of the faucet or bathroom cabinet.
V. Do you know what is the most common installation method for recessed lamps?
The so-called recessed lighting means that after the lighting is installed and used, the main structure of the lighting is not leaked, and other parts of the lighting are embedded in buildings or other objects and cannot be seen.
When installing a recessed lamp, because it involves the problem of opening holes in the installation position, it is necessary to select the appropriate model and wattage according to the use environment, area, decoration style and other issues of the lamp, so as to ensure satisfactory installation effect.
For the more common installation methods of recessed lamps, we will explain:
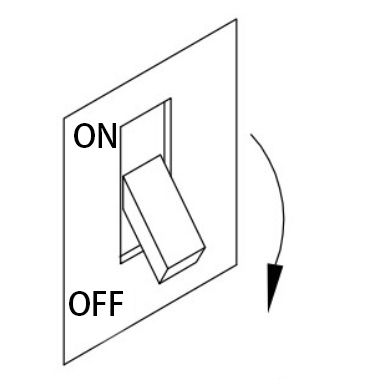
Step 1
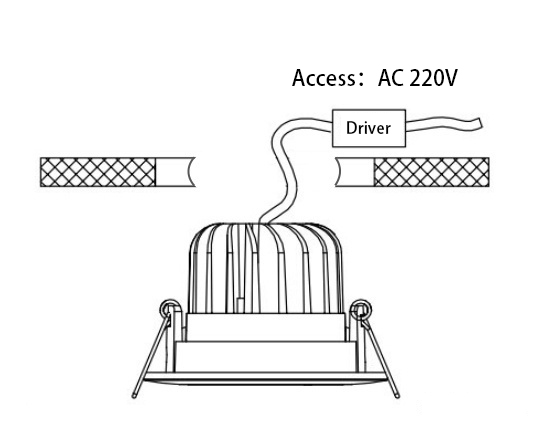
Turn off the switch, and use an electric pen to check whether there is still current in the wire to prevent dangers such as electric shock.
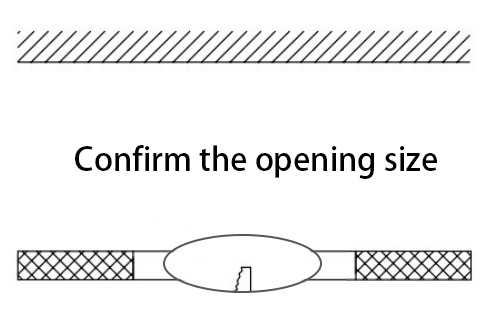
Step 2
According to the size of the lamp, use the hole opener to open the hole where the lamp needs to be installed.
Step 3
Connect the wires on the lamps to the household mains, and paste the interface with electrical tape to prevent the danger of fire or electric shock caused by leakage of electricity.
Step 4
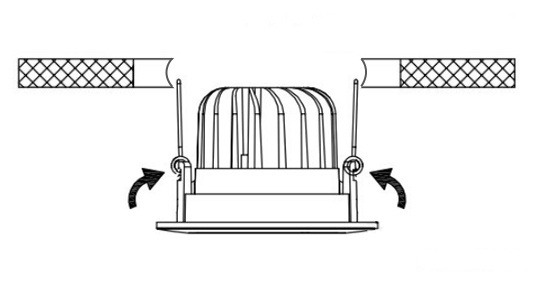
Press the spring plate with your hand to make it perpendicular to the horizontal plane to ensure that the lamp can be placed in the opening, and then gently push the lamp into the reserved opening to fix it.
Step 5
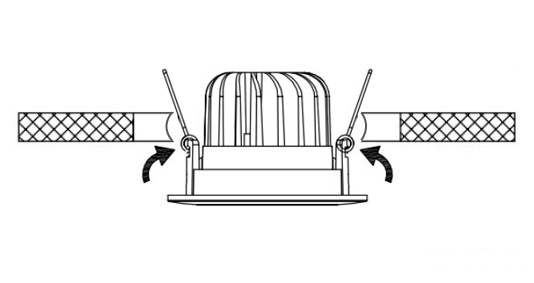
Do not let go of the hand holding the spring plate until the spring plate and the lamp are inserted into the opening.
Step 6
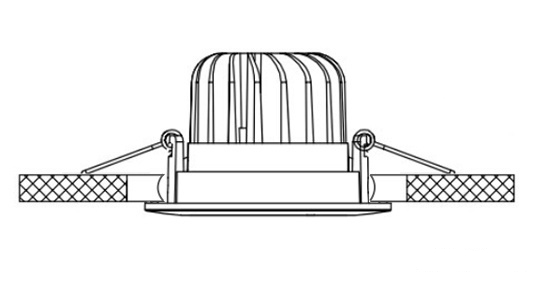
After the spring sheet and the lamp are inserted into the opening, press the face ring with your hand, and slowly adjust the lamp to prevent the lamp from sliding out with too much force, and adjust the lamp to the desired angle or position.
The above is a detailed tutorial on general lighting installation, wall lighting installation and recessed lighting installation, I hope to provide you with help and reference! If you have any needs and ideas for lighting design, please feel free to contact us! We would love to talk with you soon!